Mouse Polling Rate: What It Is, How to Test It, and What to Use for FPS
Understand mouse Hz, verify the rate your device is actually sending, and choose a stable setting without confusing polling rate with DPI or sensitivity.

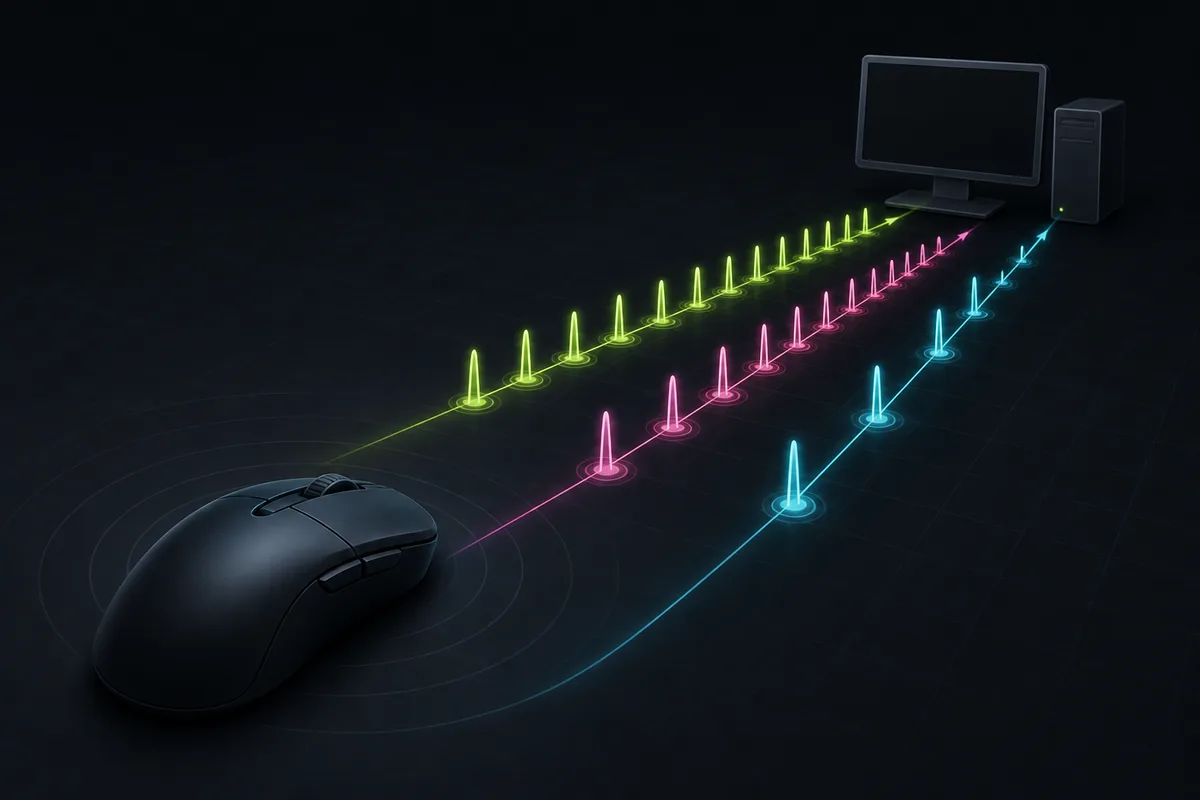
Editorial illustration: polling rate describes how often the mouse reports its position; it does not set DPI or in-game sensitivity.
Quick Answer
Mouse polling rate is the number of position reports sent to the computer per second. For many FPS players, 1000 Hz is a reliable starting point. A mouse polling rate test can show whether the device is behaving near its selected setting, but it cannot prove that the number is a perfect laboratory measurement. Keep DPI, Windows pointer speed, in-game sensitivity, frame rate, and connection mode separate while you test.
Contents
What Mouse Polling Rate Means
Polling rate is the frequency at which a mouse reports its current position to the computer. It is measured in hertz, so 1000 Hz describes a target of 1000 reports per second. The simple interval is 1 millisecond, but that interval is only one part of the complete input path from sensor to USB or wireless receiver, operating system, game, and display.
That is why polling rate is not the same as DPI. DPI describes how many sensor counts the mouse uses for a physical inch of movement. Polling rate describes how often those movement updates are delivered. You can change one without changing the other, and a higher polling rate does not automatically make the cursor or crosshair move farther.
The same distinction applies to Windows pointer speed and in-game sensitivity. If a new mouse feels too fast, changing polling rate is usually the wrong first fix. Record DPI, operating-system speed, acceleration state, game sensitivity, resolution, and frame rate before you compare a new setting. The Windows mouse sensitivity guide covers that system layer separately.
In practical terms, polling rate is a timing choice. It can make movement updates arrive more frequently, but the benefit depends on whether the rest of the setup can process those updates smoothly. A clean, stable 1000 Hz result is more useful than a nominal 8000 Hz setting that produces spikes, stutter, or inconsistent wireless behavior.
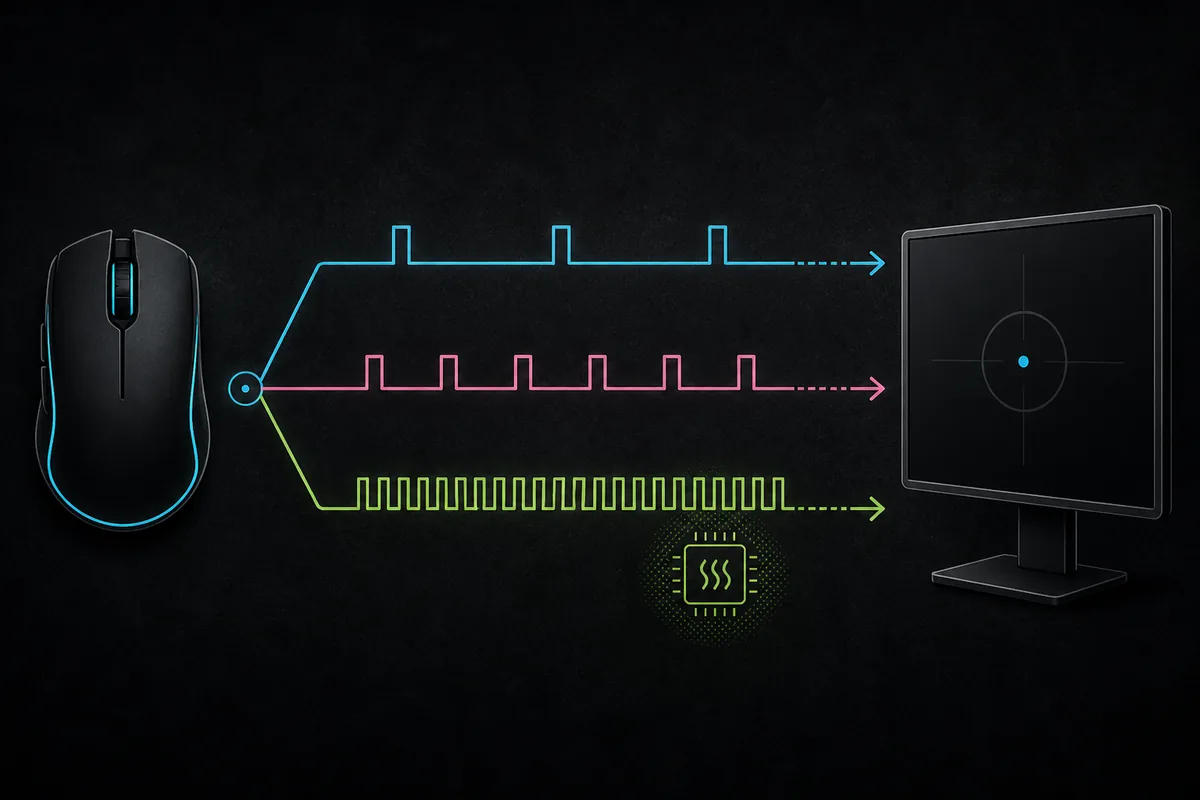
How to Test Mouse Polling Rate
Start by writing down the setting shown in the mouse software or onboard profile. Note whether the mouse is wired or wireless, whether it is connected through a hub, and whether a high-performance receiver is being used. Disable automatic profile switching for the test if your software supports that option.
Next, use a reputable browser mouse-rate checker such as the TestUFO Mouse Rate Checker. Move the mouse continuously at a moderate speed for long enough to produce a useful sample. Do not treat the biggest number on the screen as the answer; look for the center of the reported range and for obvious dropouts or spikes.
Repeat the same pass at least twice. Keep the browser window, pointer speed, USB port, surface, connection mode, and polling setting unchanged. If the browser result is far below the selected setting, check the driver profile, receiver distance, battery state, hub, and background CPU load before assuming the mouse is defective.
A browser result is a practical check, not a controlled instrument. Browser timers, operating-system scheduling, movement speed, and the test's own sampling method affect the number. Cross-check the result with the manufacturer's software, then test the same setting in your actual game. If both feel stable and frame time remains consistent, that is stronger evidence than one unusually high browser reading.
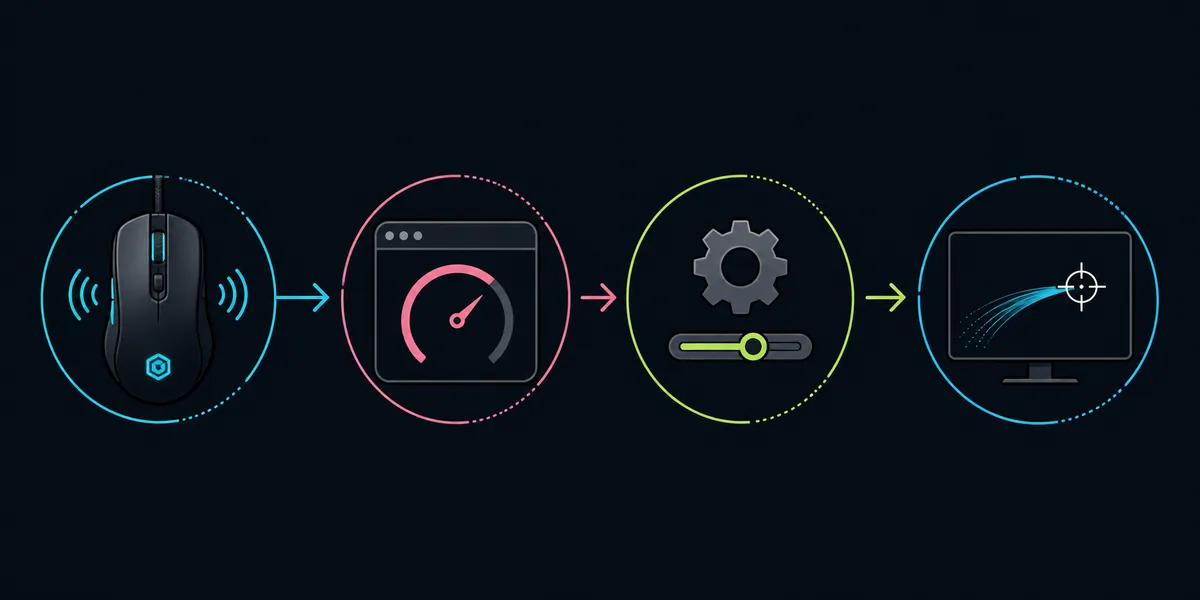
A reliable test loop
Record the selected rate, run the same browser check twice, verify the vendor profile, then compare game frame time and input feel. Change one variable at a time.
Which Polling Rate Should You Use for FPS?
There is no universal best polling rate. Start with 1000 Hz because it is a mature baseline that many games and systems handle consistently. Move higher only when you have a reason to test it: a compatible mouse, a modern connection, a stable game frame time, and a repeatable way to compare the result.
The table below is a decision aid, not a performance promise. The report interval is the simple theoretical spacing between reports. It does not mean the entire game-to-display pipeline becomes that many milliseconds faster, and it does not replace a stable frame rate or a responsive monitor.
High polling modes can be useful for some high-refresh setups, especially when the game and system remain smooth. They can also increase the number of input events the system must process. If CPU usage rises, frame pacing becomes uneven, or wireless battery behavior changes, return to the last stable rate instead of chasing the largest specification.
For a fair comparison, use the same resolution, field of view, sensitivity, mouse surface, game scene, and practice task. The Mouse Accuracy Game can provide a simple stop-control check, while BallSheet runs can show whether the same pointer setup remains comfortable under target pressure.
| Rate | Theoretical interval | Good fit | Trade-off to watch |
|---|---|---|---|
| 125 Hz8 ms | Older devices, basic desktop use | Low system work | Can feel coarse for fast FPS aim |
| 500 Hz2 ms | Stable everyday gaming baseline | Light processing cost | Often a good fallback |
| 1000 Hz1 ms | Most competitive FPS setups | Balanced compatibility | Recommended starting point |
| 2000 Hz0.5 ms | Modern systems with stable frame time | More input events | Test for smoothness, not hype |
| 4000 Hz0.25 ms | High-refresh setups with headroom | Higher processing demand | Game support matters |
| 8000 Hz0.125 ms | Specialized high-end testing | Most demanding option | Use only when it stays stable |
How to Change Mouse Polling Rate
The exact control depends on the mouse. Some devices expose polling rate in the manufacturer's desktop software; others use a button, a receiver setting, or an onboard profile. Open the official utility, select the correct device, choose a rate, save the profile, and then repeat the test rather than assuming the new value applied.
Wireless mice deserve an extra check. Confirm that the receiver is close enough, the battery is not in a low-power state, and the selected rate is supported in the current wireless mode. A setting can look correct in software while the real connection falls back or becomes unstable under motion.
Change only one input variable at a time. If you change polling rate, DPI, Windows pointer speed, and game sensitivity together, you cannot tell which change helped. When you return to a previous value, use the same practice task and compare frame pacing, cursor control, and comfort instead of relying on memory.
Polling Rate vs DPI vs Sensitivity
A useful mouse setup has several layers. Polling rate controls report timing. DPI controls sensor counts per inch. Windows pointer speed changes desktop cursor mapping, although games using raw input may bypass parts of that layer. In-game sensitivity changes how a specific title maps input to camera or crosshair movement.
If you want to compare the same game setting across DPI values, use the eDPI calculator. If you want to compare physical turn distance, use the cm/360 calculator. Neither calculator changes polling rate, because polling rate is a timing parameter rather than a sensitivity scale.
The most common mistake is asking polling rate to solve a sensitivity problem. If the crosshair overshoots, inspect DPI, in-game sensitivity, acceleration, grip, and available mouse space first. If the game feels uneven at a high polling rate, inspect frame time and CPU behavior. These are different problems even when they are noticed during the same match.
Keep a short baseline note with DPI, polling rate, Windows setting, game sensitivity, connection mode, and one concrete observation. A note such as “close targets overshoot” or “high rate causes uneven frame pacing” is more useful than simply writing down that one option felt faster.
Common Mouse Polling-Rate Testing Mistakes
Do not compare a wired result with a wireless result and call the difference a polling-rate effect. Connection mode, receiver placement, battery state, and firmware behavior can matter. Use one mode for the whole comparison or record the mode as part of the test name.
Do not use a generic “mouse test” as evidence for polling rate. Mouse click tests, button tests, sensor tests, and polling-rate tests measure different behaviors. Similarweb shows that these terms have large but separate search intents, so combining them on one page would make the topic less clear.
Do not select 8000 Hz because the number looks impressive. If the game, browser, or system becomes less stable, the setting is not helping your actual task. A stable 500 or 1000 Hz profile is a valid result, especially on an older CPU, a laptop, or a setup with limited wireless battery headroom.
Finally, do not treat one browser sample as a permanent hardware verdict. Repeat the check, use the manufacturer's software as a second signal, and judge the setting in the game or practice task you actually care about.
How Polling Rate Fits With Aim Practice
Polling rate is only one part of a repeatable aim setup. Once the device is stable, use a short pointer-control drill to see whether you can stop on small targets without extra corrections. The Mouse Accuracy Game is useful for that narrow check; it is not a polling-rate laboratory or a universal aim score.
After the hardware check, BallSheet adds target switching, pressure, and continuous movement. Use the BallSheet reaction-time training plan to compare repeatable runs rather than one lucky peak. Keep the polling rate, DPI, browser, display, and mouse surface unchanged while you review the result.
If you are also changing Windows settings, read the Windows Mouse Sensitivity Guide first. The goal is not to make every number larger. The goal is to find a setup that sends consistent input, keeps frame pacing stable, and lets you reproduce the same movement when you practice again.
Recommended order
Stabilize the connection, confirm polling rate, lock DPI and sensitivity, then use a repeatable aim drill. Change one layer only after you can name the problem it is meant to solve.
FAQ
Sources and Related Tools
Last updated: August 6, 2026
Practice with BallSheet