Improve Mouse Accuracy for Games: 7 Practical Steps
Build steadier aim by separating setup from practice, then use short repeatable drills to improve control before you chase speed.

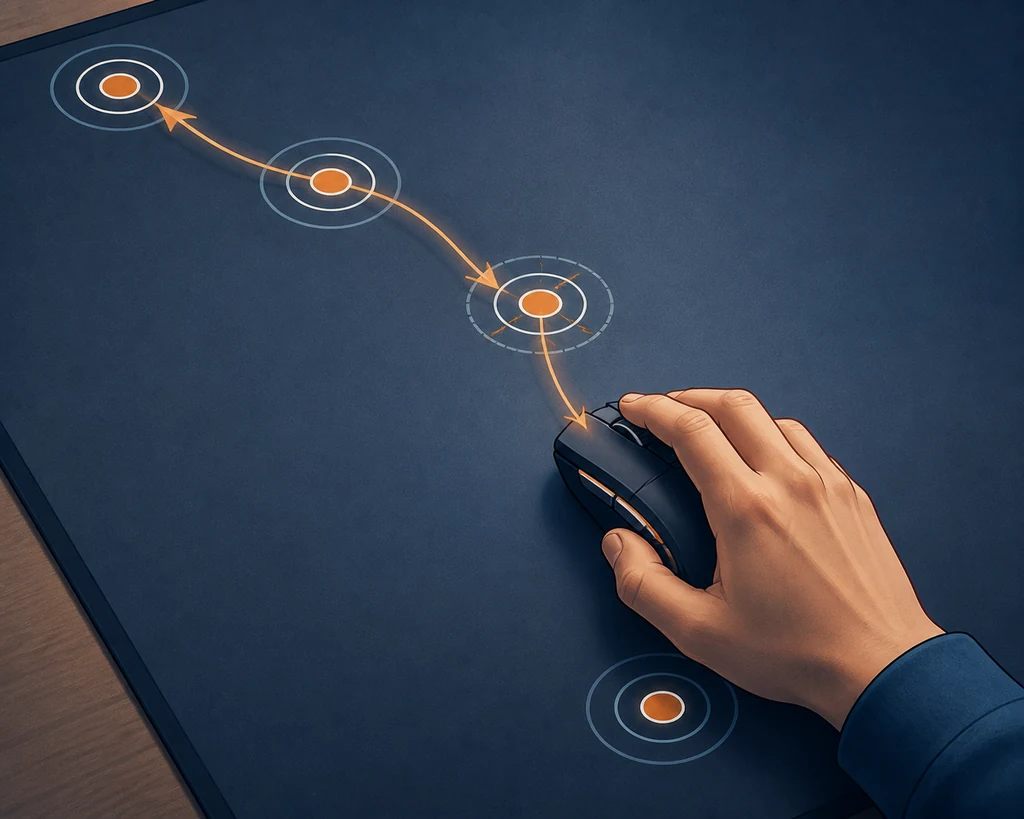
Editorial illustration: controlled paths and repeatable target choices make mouse accuracy easier to practice than raw speed alone.
Quick Answer
To improve mouse accuracy for games, first stabilize your mouse, surface, DPI, Windows pointer settings, and in-game sensitivity. Then train clean paths, controlled stops, and target switching in short repeatable blocks. The Mouse Accuracy Game can provide a simple browser drill, while the Windows mouse sensitivity guide helps you keep the input layers separate.
Contents
1. Start With a Stable Mouse Accuracy Setup
The fastest way to make mouse accuracy training confusing is to change the desk setup every time you practice. Keep the same mouse, mouse feet, surface, USB or wireless mode, monitor, browser or game window, and frame-rate target while you establish a baseline. Your first goal is not to find a magical setting; it is to make the next three runs comparable.
Write down the settings that affect movement: mouse DPI, Windows pointer speed, pointer acceleration state, in-game sensitivity, resolution, field of view, and any raw-input option. These are separate layers. Polling rate changes how often movement reports arrive, while DPI changes sensor counts and sensitivity changes how the game maps those counts. The mouse polling rate guide explains that timing layer in more detail.
Before you evaluate a score, check the physical basics. Your mouse should glide without a cable snag, your forearm should have enough room for the movement range, and your grip should not require constant fingertip tension. A clean surface and a repeatable starting position often improve accuracy more than an immediate sensitivity change.
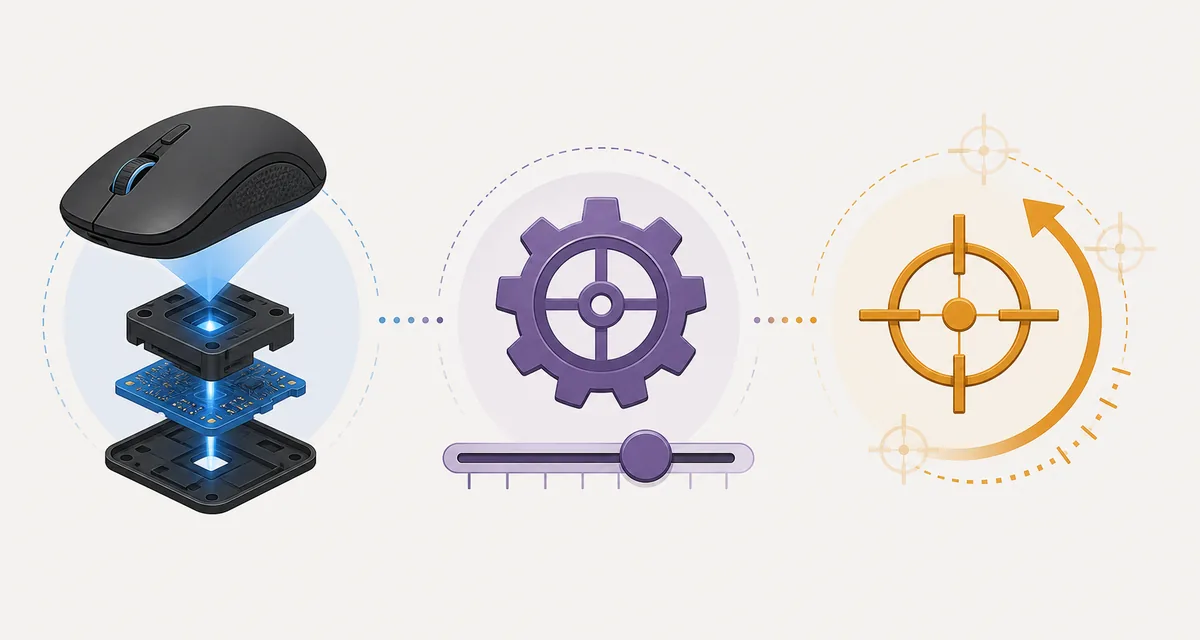
Baseline rule
Keep the device, surface, sensitivity, resolution, and practice task fixed for at least three runs before deciding that a setting helped.
2. Set Sensitivity Before You Chase Speed
Sensitivity should let you reach nearby and distant targets without either overshooting every stop or lifting the mouse after every small correction. There is no universal number that guarantees accuracy. A useful starting point is the setting where you can make a slow, deliberate movement to a target and stop inside it without your hand feeling locked.
If your cursor repeatedly passes the target, test a small reduction rather than cutting sensitivity in half. If you run out of desk space, drag your arm across the pad, or tense your shoulder during target switching, test a small increase or improve your movement range first. Make one change, repeat the same drill, and record whether the path became cleaner—not just whether the first target felt faster.
For games that expose a meaningful sensitivity scale, the eDPI calculator can help you record the relationship between DPI and in-game sensitivity. It is a comparison aid, not a verdict. The same eDPI number can feel different across games with different yaw, field of view, input processing, or zoom behavior.
Change one variable
Do not change DPI, Windows speed, in-game sensitivity, polling rate, and crosshair at the same time. If the result changes, you need to know which adjustment caused it.
3. Train Clean Mouse Paths Before Fast Flicks
Accuracy is easier to see when you slow down. For two or three warm-up runs, move directly toward each target with a relaxed hand. Notice whether the cursor takes a straight path, arcs around the target, or makes a second and third correction after you arrive. These extra corrections are useful information: they show where control is breaking down even when the final click lands.
Use the whole movement range that your sensitivity requires. Small targets may need fingertip or wrist control, while longer target switches may need the forearm. Try not to force every motion from one joint. A comfortable blend of arm movement for distance and wrist or fingers for the final stop usually creates a smoother path than a permanently tense grip.
Do not turn every warm-up into a flick-speed test. Fast movement is valuable only when you can brake and settle. If you arrive near the target but continue past it, practice the last few centimeters as a controlled stop. The goal is a path that is both quick enough and predictable enough to repeat.
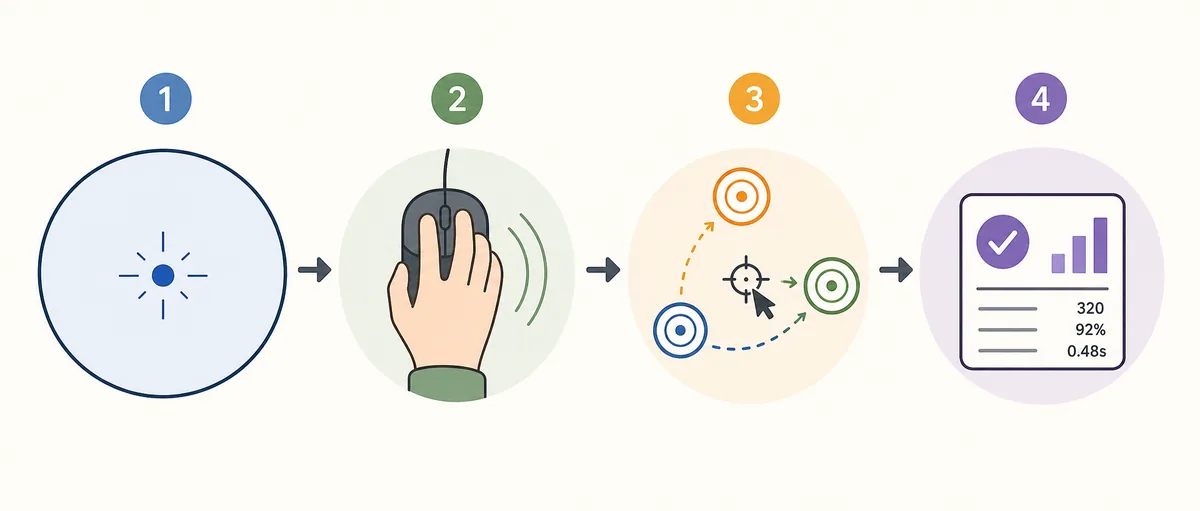
4. Practice Target Switching as a Repeatable Drill
Target switching combines visual choice, movement planning, acceleration, braking, and the final click or stop. That makes it more useful than random clicking, but only when the task is repeatable. Use the same target size, practice area, and run length while you learn what your hand is doing.
Start with a precision block, then add speed only after your misses become understandable. If you miss because the first movement was too long, reduce the initial burst. If you arrive correctly but hesitate before the click, work on a consistent stop-and-confirm rhythm. If the target changes before you are ready, keep your eyes on the next target while your hand finishes the current movement instead of staring at the cursor.
The table below is a simple way to organize a session. It is not a ranking system. The best block is the one that gives you a clear observation for the next run.
| Practice block | Setup | Main focus | What to record |
|---|---|---|---|
| Precision warm-upslow pace | Stable paths | Relaxed grip | Overshoot count |
| Normal target switchingusual pace | Control under rhythm | Same task each run | Clean hits |
| Speed checkshort burst | Braking under pressure | Only after warm-up | Speed versus misses |
| Game transfersame settings | Practical comfort | Actual game scene | Frame time and feel |
5. Use a Short Practice Loop
A useful session has a beginning, a narrow focus, and an endpoint. Try two relaxed runs, three runs focused on one issue, and one final run at your normal pace. For example, the focus might be “stop inside the target” or “keep the first movement smooth.” Avoid switching goals after every miss; one session should teach you one clear lesson.
Keep practice short enough that your technique remains honest. When the hand becomes tired, players often squeeze the mouse, lift the shoulder, shorten the movement, and add frantic corrections. More repetitions after that point can reinforce the wrong habit. A ten- to twenty-minute block is usually easier to review than a long session with no consistent conditions.
Use a browser drill as a warm-up, then move to the game mode that matters to you. The BallSheet Mouse Accuracy Game is useful for simple target switching and stop control, while an FPS aim trainer or the actual game is still needed for tracking, recoil, movement, and weapon-specific timing.
A practical six-run routine
Runs 1–2: relaxed warm-up. Runs 3–5: one chosen correction. Run 6: normal pace. Write one sentence about what changed before you adjust anything else.
6. Review Accuracy With the Right Signals
A personal best is exciting, but it is weak evidence by itself. Compare a small group of runs made with the same setup. Look for fewer overshoots, fewer late corrections, a steadier pace, and a smaller gap between your best and worst attempt. Consistency tells you whether the movement is becoming a skill rather than a lucky sequence.
If the tool shows reaction time, balls per second, score, or survival time, read them together. A faster average with many extra corrections may be worse practice than a slightly slower run that stays clean. Likewise, a score drop can be caused by a single early mistake, a different browser window, a tired hand, or a changed sensitivity. Write down the context before interpreting the number.
When you use BallSheet or another browser drill, treat the result as personal practice feedback rather than a universal accuracy rating. The reaction-time training guide explains how to use repeated runs without overclaiming what a browser score can prove.
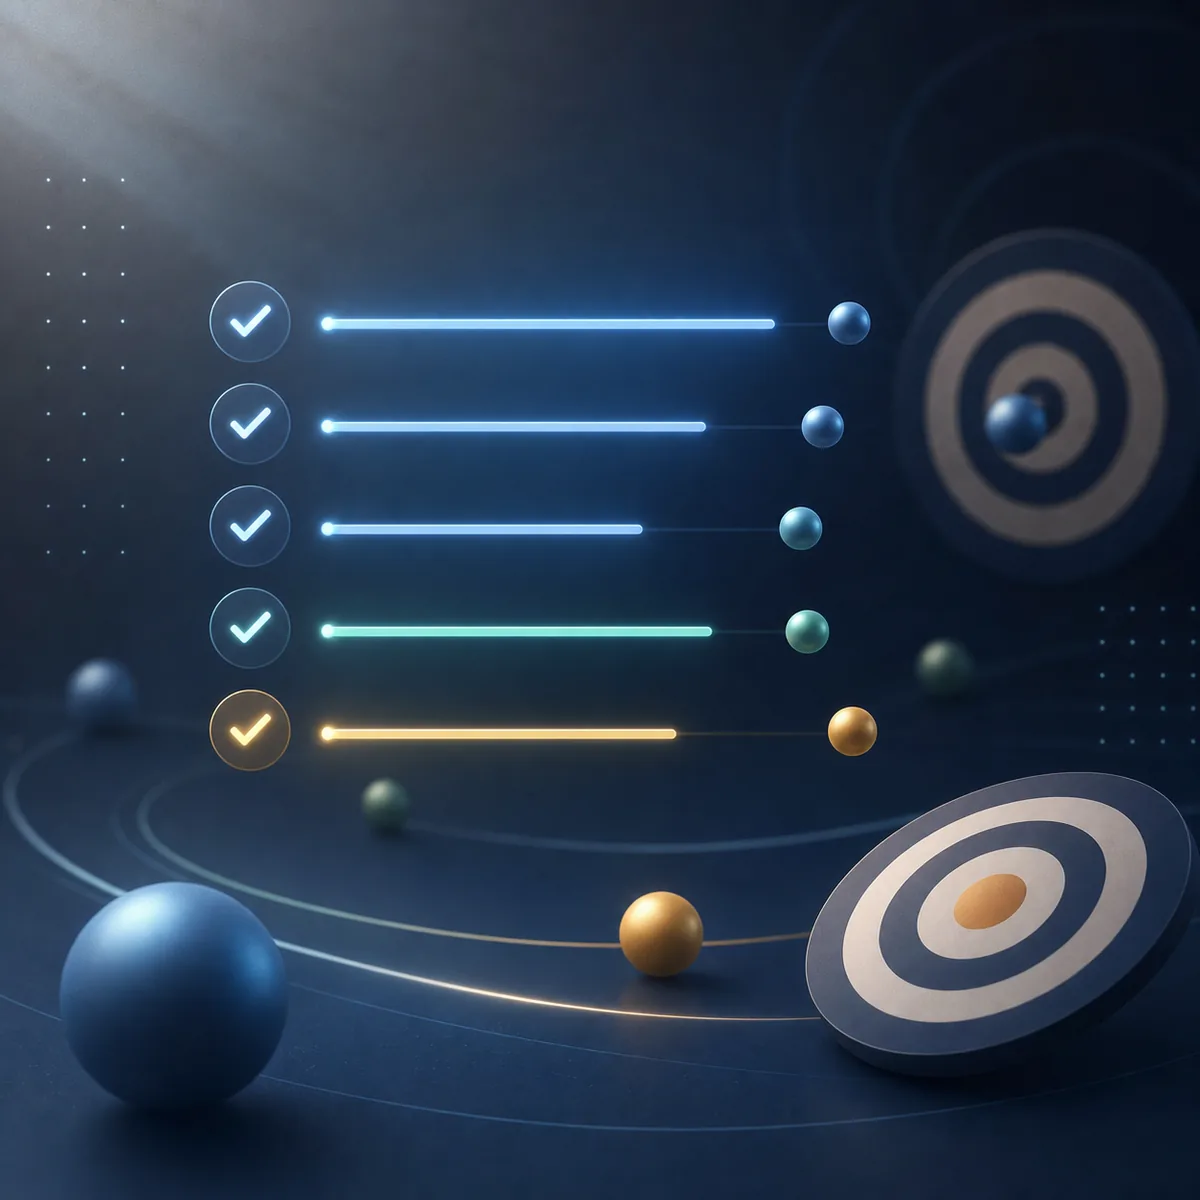
7. Avoid Common Mistakes That Make Accuracy Worse
Changing settings after every miss makes it impossible to learn what worked. Keep a simple log with the date, DPI, sensitivity, practice task, and one observation. If you make a change, keep it for enough runs to see a pattern. This is especially important when you are comparing a new mouse, a new surface, or a higher polling rate.
Another common mistake is measuring only speed. A fast flick that needs two corrections can look impressive but teach poor braking. Give yourself permission to slow down until the path is clean, then increase pace in small steps. Accuracy, timing, and comfort should move together; if one improves while the others collapse, the setting or drill needs review.
Finally, do not treat a browser game as a complete FPS aim assessment. Use it for a narrow job—target switching, mouse control, or a quick warm-up—then practice the movement and visual demands of your actual game. If your hand hurts, your wrist goes numb, or pain continues outside practice, stop and address the physical issue instead of trying to grind through it.
The useful boundary
A good mouse accuracy routine makes your own movement more repeatable. It does not promise a universal rank, a medical result, or automatic transfer to every game.
Improve Mouse Accuracy FAQ
Related Resources
Last updated: August 22, 2026
Play BallSheet and practice